There’s something you notice instantly when you look at a good product photo.
It feels clean.
No distractions. No clutter. Just the product, clearly visible and easy to focus on.
And then there are photos where:
- The background is messy
- Lighting is uneven
- The product doesn’t stand out
Even if the product is great, the photo doesn’t do it justice.
This is where background removal makes a huge difference.
It’s one of the simplest ways to make your images look professional—without needing a studio, expensive camera, or advanced design skills.
Why Background Removal Matters
Let’s be honest.
Most product photos are taken in real-life environments:
- On a table
- On the floor
- Against a wall
- With random objects in the background
And that’s completely normal.
But when you want to present your product online—whether it’s:
- WhatsApp business
- E-commerce platforms
- Your own website
The background becomes a distraction.
A clean background:
- Focuses attention on the product
- Looks professional
- Builds trust
And trust matters more than we think.
First Impressions Are Visual
When someone sees your product online, they don’t read first.
They look.
Within seconds, they decide:
👉 Does this look trustworthy?
A cluttered background creates doubt.
A clean image creates confidence.
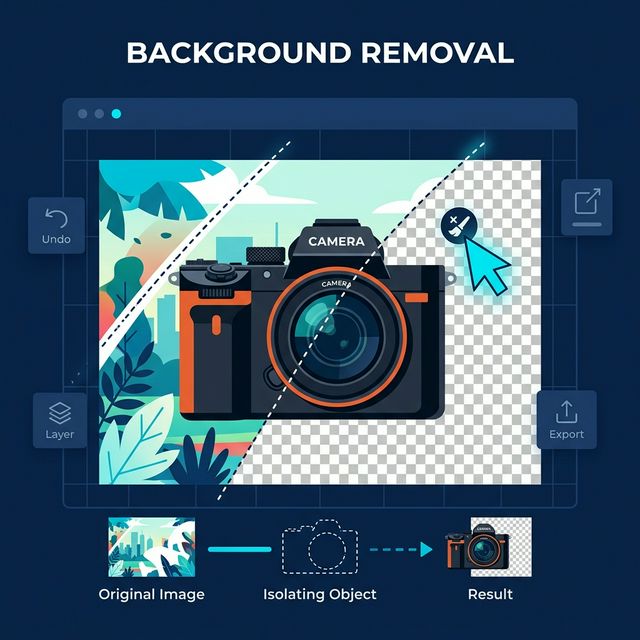
What is Background Removal?
Background removal is exactly what it sounds like.
You take an image and:
- Remove everything except the subject (product)
- Replace the background with something clean
This could be:
- White background
- Transparent background
- Solid color
- Custom design
The Traditional Way (And Why It Was Hard)
Earlier, removing backgrounds required:
- Photoshop skills
- Manual selection tools
- Time and patience
You had to:
- Carefully trace the edges
- Adjust layers
- Fix imperfections
For beginners, it was:
The Modern Way: AI-Powered Background Removal
Today, things are different.
With modern tools:
- Backgrounds are removed automatically
- AI detects the subject
- Results are generated in seconds
No design skills required.
How to Remove Backgrounds (Step-by-Step)
Let’s go through a simple process anyone can follow.
Step 1: Choose Your Image
Pick a clear image of your product.
For best results:
- Good lighting
- Clear edges
- Minimal blur
Step 2: Upload or Select Image
Depending on the tool:
- Upload your image
- Or drag and drop
Step 3: Automatic Detection
The tool will:
- Identify the subject
- Separate it from the background
This happens instantly.
Step 4: Review the Result
Check:
- Edges of the product
- Missing parts
- Extra background areas
Step 5: Download or Edit
You can:
- Download the image
- Add a new background
- Make small adjustments
Cloud Tools vs Browser-Based Tools
Most people don’t think about this—but it matters.
Background Removal Methods Compared
| Feature | Cloud-Based Tools | Browser-Based Tools (AuraFile) |
|---|---|---|
| File Upload | Required | Not required |
| Processing | External server | Your device |
| Speed | Depends on internet | Instant |
| Privacy | Files leave your device | Files stay local |
| Storage Risk | Possible | None |
| Control | Limited | Full |
Why Privacy Matters (Even for Images)
You might think:
But product images can include:
- Unreleased designs
- Branding elements
- Personal items
Uploading them to servers means:
- You don’t fully control the data
- Files may be stored temporarily
With browser-based tools:
Tips for Better Background Removal Results
Even with AI tools, quality depends on your input.
1. Use Good Lighting
Clear lighting helps the tool detect edges better.
2. Avoid Busy Backgrounds
Simple backgrounds give cleaner results.
3. Ensure Contrast
Make sure your product stands out from the background.
4. Use High-Resolution Images
Better quality input = better output.
5. Check Edges Carefully
Look at:
- Hair-like details
- Fine edges
- Shadows
What Background Should You Use?
After removing the background, you can choose what comes next.
White Background
- Clean and professional
- Best for e-commerce
Transparent Background
- Flexible
- Can be used anywhere
Solid Colors
- Good for branding
- Social media posts
Custom Backgrounds
- Lifestyle images
- Creative marketing
Real-Life Use Cases
Let’s look at where this is actually useful.
1. Online Sellers
Clean product images increase clicks and conversions.
2. Instagram Creators
Better visuals = more engagement.
3. Small Businesses
Professional look without a studio.
4. Freelancers & Designers
Faster workflow, better results.
Common Mistakes to Avoid
❌ Over-editing
Too much editing can make images look unnatural.
❌ Ignoring Shadows
Products without shadows can look unrealistic.
❌ Using Low-Quality Images
Results will always depend on input quality.
❌ Not Checking Final Output
Always review before using.
Does Background Removal Reduce Quality?
No—if done correctly.
Good tools:
- Preserve image quality
- Maintain sharp edges
But repeated editing and low-quality inputs can reduce quality.
Why This Matters for Your Brand
People judge products visually.
Even if your product is high quality:
Clean images:
- Look premium
- Feel reliable
- Attract attention
The Simplicity People Miss
Background removal sounds like a design task.
But today, it’s not.
It’s a simple step that can:
- Improve your visuals
- Increase professionalism
- Save time
A Better Way to Do It
With tools like AuraFile:
- No upload needed
- Instant processing
- Complete privacy
Everything happens in your browser. No waiting. No risk.
Final Thoughts
You don’t need expensive equipment or advanced skills to create clean product photos.
Sometimes, all it takes is removing what doesn’t belong.
A cluttered background hides your product.
A clean background highlights it.
And in a world where attention is limited, clarity always wins.
Try It Yourself
Remove backgrounds from your images instantly and create clean, professional product photos without uploading them anywhere.
Remove Background →About the Author
Dhivya
Content Contributor
Dhivya is a content creator who writes about technology, privacy, and modern web tools. She focuses on making complex processes simple and practical for everyday users.
Frequently Asked Questions
How can I remove the background from an image?
You can use a background removal tool that automatically detects the subject and removes the background in seconds.
Do I need Photoshop to remove backgrounds?
No. Modern tools use AI to remove backgrounds automatically without any design skills.
Will background removal affect image quality?
No, as long as you use a good tool and high-quality input images.
What is the best background for product photos?
A white or transparent background is most commonly used for clean and professional results.
Does AuraFile upload my images?
No. AuraFile processes images directly in your browser. Your files never leave your device.