If you’ve ever tried uploading an image and been stopped by a “file size too large” error, you already know how frustrating image size can be.
It’s one of those small problems that shows up everywhere—while sending photos, uploading documents, building websites, or even applying for jobs online. And the usual solution most people try is simple: compress the image.
But then comes the real problem.
The image loses quality.
It looks blurry. Details disappear. Colors feel off. And suddenly, the “solution” creates a new issue.
So the question becomes:
The answer is yes—but only if you understand how image compression really works.
This guide is not just about tools or quick fixes. It’s about helping you understand what’s happening behind the scenes, so you can make better decisions every time you work with images.
Why Image Size Matters More Than You Think
At first glance, file size doesn’t seem like a big deal. After all, storage is cheap and internet is fast, right?
Not always.
Large images can create problems in more ways than one:
- Websites load slower
- Mobile data gets consumed quickly
- Upload limits stop your work
- Emails fail to send
- Apps become sluggish
Even a single uncompressed image can impact performance—especially on websites.
If you’re building something online, image optimization is not optional. It’s essential.
What Is Image Compression (In Simple Terms)?
Image compression is the process of reducing the size of an image file without unnecessarily affecting how it looks.
That’s the key idea—balance.
You’re trying to remove “extra” data that isn’t noticeable to the human eye, while keeping the visible quality intact.
But here’s where things get interesting.
Not all compression works the same way.
The Two Types of Image Compression
Understanding these two types will change how you use images forever.
1. Lossy Compression
This type reduces file size by permanently removing some data from the image.
- Smaller file size
- Faster loading
- Slight loss in quality
Most people don’t notice the difference at moderate levels, but aggressive compression can make images look blurry or pixelated.
Common formats: JPEG (JPG), WebP (lossy mode)
2. Lossless Compression
This type reduces file size without removing important data.
- No visible quality loss
- Slightly larger file size compared to lossy
- Better for detailed images
Common formats: PNG, WebP (lossless mode)
Lossy vs Lossless: Quick Comparison
| Feature | Lossy Compression | Lossless Compression |
|---|---|---|
| Quality | Slight loss possible | No quality loss |
| File Size | Very small | Moderate |
| Best For | Photos, web images | Logos, graphics, text images |
| Editing Flexibility | Limited after compression | Can edit without degradation |
Why Images Lose Quality After Compression
If you’ve ever compressed an image and noticed a drop in quality, it’s usually because:
- Too much data was removed
- The compression level was too high
- The wrong format was used
Compression isn’t just about reducing size—it’s about doing it intelligently.
Think of it like packing a suitcase. You can remove unnecessary items and pack efficiently—or you can just throw things out randomly and regret it later.
Choosing the Right Format Matters
Before you even compress an image, choosing the right format makes a huge difference.
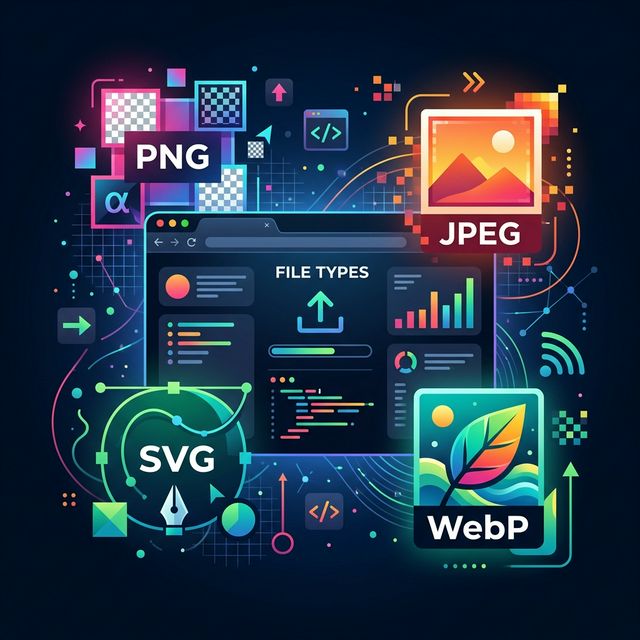
JPEG (JPG)
- Best for photographs
- Good balance between quality and size
- Uses lossy compression
PNG
- Best for graphics, logos, text
- Supports transparency
- Uses lossless compression
WebP
- Modern format
- Supports both lossy and lossless
- Smaller size with better quality
If you’re still using PNG for large photos, you’re already making your files bigger than necessary.
A Smarter Way to Reduce Image Size
Most people follow this approach:
But there’s a better way.
Instead of uploading your image to a server, modern tools allow you to compress images directly in your browser. This changes everything.
Browser-Based Compression: A Better Approach
When you use browser-based tools:
- Your image stays on your device
- No upload is required
- Processing happens instantly
- No data is stored anywhere
This is especially important when dealing with personal or sensitive images. You’re not just optimizing size—you’re protecting your data.
Why This Matters for Privacy
Images often contain more than just visuals. They can include:
- Metadata (location, device info)
- Personal content
- Sensitive details
When you upload an image to a server, all of that data goes with it. With browser-based compression, nothing leaves your device. That’s a major advantage.
Practical Tips to Compress Images Without Losing Quality
Now let’s get into what actually works.
1. Resize Before Compressing
If your image is 4000px wide but you only need 800px, reduce the dimensions first. This alone can cut file size significantly.
2. Choose the Right Format
Don’t use PNG for everything. Use JPEG for photos, PNG for graphics, and WebP when possible.
3. Avoid Over-Compression
More compression doesn’t always mean better results. Find a balance where file size is reduced but quality still looks natural.
4. Compress Only Once
Repeated compression reduces quality each time. Always keep the original file.
5. Use Modern Tools
Older tools may not optimize efficiently. Look for tools that offer real-time preview, allow quality adjustment, and work directly in your browser.
Common Mistakes People Make
Even with good intentions, these mistakes are common:
- Compressing already compressed images
- Using the wrong format
- Ignoring resolution
- Uploading sensitive images to unknown tools
Avoiding these alone can improve your results significantly.
When You Should NOT Compress Images
Compression is useful, but not always necessary. Avoid compressing when:
- You need maximum quality (printing, design work)
- The image is already optimized
- File size is not a concern
Real-World Use Cases
For Websites
Compressed images improve loading speed, boost SEO, and enhance user experience.
For Social Media
Platforms compress images anyway, but starting with optimized images gives better results.
For Email & Uploads
Smaller images send faster, avoid upload limits, and save bandwidth.
How AuraFile Simplifies Image Compression
Instead of relying on traditional upload-based tools, AuraFile uses browser-based processing.
That means:
- No uploads
- No waiting
- No privacy concerns
You simply select your image, compress it instantly, and download the result. All without your file ever leaving your device.
A Better Way to Think About Compression
Instead of asking:
Start asking:
That small shift in thinking makes a big difference.
Final Thoughts
Image compression isn’t just about making files smaller. It’s about making them smarter.
When done right, you can save space, improve performance, maintain quality, and protect your data. And once you understand how it works, you stop guessing and start controlling the outcome.
The next time you compress an image, you won’t just be clicking a button—you’ll know exactly what you’re doing.
Try It Yourself
Process your images instantly and securely using browser-based tools. No uploads. No tracking. Just simple, fast compression.
Compress your image now →About the Author
Dhivya
Content Contributor
Dhivya is a content creator who writes about technology, privacy, and modern web tools. She focuses on simplifying complex topics into clear and practical insights.
Frequently Asked Questions
Does compressing an image reduce quality?
It depends on the type of compression used. Lossy compression may slightly reduce quality, while lossless compression maintains the original quality.
What is the best format for image compression?
JPEG is best for photos, PNG for graphics, and WebP offers a good balance of both quality and size.
Can I compress images without uploading them?
Yes. Browser-based tools allow you to compress images directly on your device without uploading them to a server.
Why do images become blurry after compression?
This usually happens when too much data is removed during lossy compression or when high compression levels are used.
Is it safe to use online image compression tools?
It depends on the tool. Many upload your images to servers. For better privacy, use tools that process images directly in your browser.